
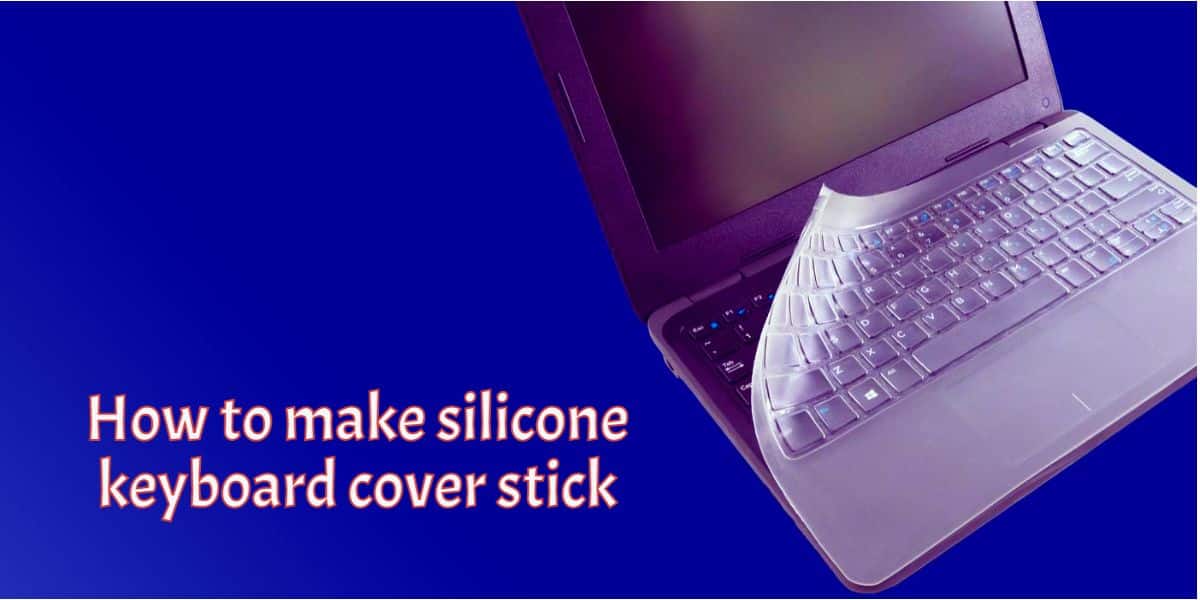
How to Make Your Silicone Keyboard Cover Stick
Are you tired of your silicone keyboard cover constantly slipping and sliding on your keyboard? Well, you’re not alone. Many people face this issue and struggle to find a solution. But fear not, because in this article, we will be sharing some tips and tricks to help you make your silicone keyboard cover stick.
Before we dive into the methods, let’s talk about the importance of a silicone keyboard cover. These covers not only protect your keyboard from spills and dust but also provide a comfortable typing experience. However, if it keeps moving around while you’re typing, it can be quite frustrating. So, let’s get right into it.
1. Clean and Dry Your Keyboard: The first step is to make sure your keyboard is clean and dry. Remove any dust, crumbs, or dirt from the surface as these can prevent the cover from adhering properly.
2. Check for Dust and Debris on the Cover: Similarly, check your silicone keyboard cover for any dust or debris that may have accumulated. Gently wash the cover with mild soap and water, and make sure it is thoroughly dry before proceeding to the next step.
3. Apply Adhesive Gel Pads: Adhesive gel pads are a great way to make your silicone keyboard cover stick firmly in place. Cut small pieces of adhesive gel pad and place them strategically on your keyboard. Press the cover onto these pads, ensuring a strong bond.
4. Use Double-Sided Tape: Another effective method is to use double-sided tape. Cut small pieces of double-sided tape and affix them to the corners or edges of your keyboard. Carefully place the silicone keyboard cover on top of the tape and press firmly.
5. Consider Silicone Keyboard Covers with Anti-Slip Coating: Some silicone keyboard covers come with an anti-slip coating on the underside. These covers are designed to stick to the keyboard surface without any additional adhesive. Consider investing in one of these covers if you haven’t already.
6. Use a Hairdryer: If none of the above methods work for you, try using a hairdryer. Set it to a low heat setting and gently warm the silicone cover. This will help it become more pliable, making it easier to stick to the keys.
7. Apply Pressure: Once your silicone keyboard cover is in place, apply gentle pressure to ensure it adheres properly. Run your fingers over the keys, pressing down gently to help it stick securely.
By following these tips, you can make your silicone keyboard cover stick and enjoy a more stable typing experience.
Remember, it is crucial to regularly clean your silicone keyboard cover and maintain it to ensure proper functionality. If you encounter any issues or the cover starts to lose its grip over time, simply repeat these steps to make it stick again.
In conclusion, having a silicone keyboard cover that stays in place is essential for a seamless typing experience. Whether you choose adhesive gel pads, double-sided tape, or opt for an anti-slip coating, there are several effective methods at your disposal. Give these techniques a try and find the one that works best for you.